Showing posts with label Crafts. Show all posts

Wednesday, April 18, 2012

A Holiday in Holladay, Utah: Easter 2012 Part 3


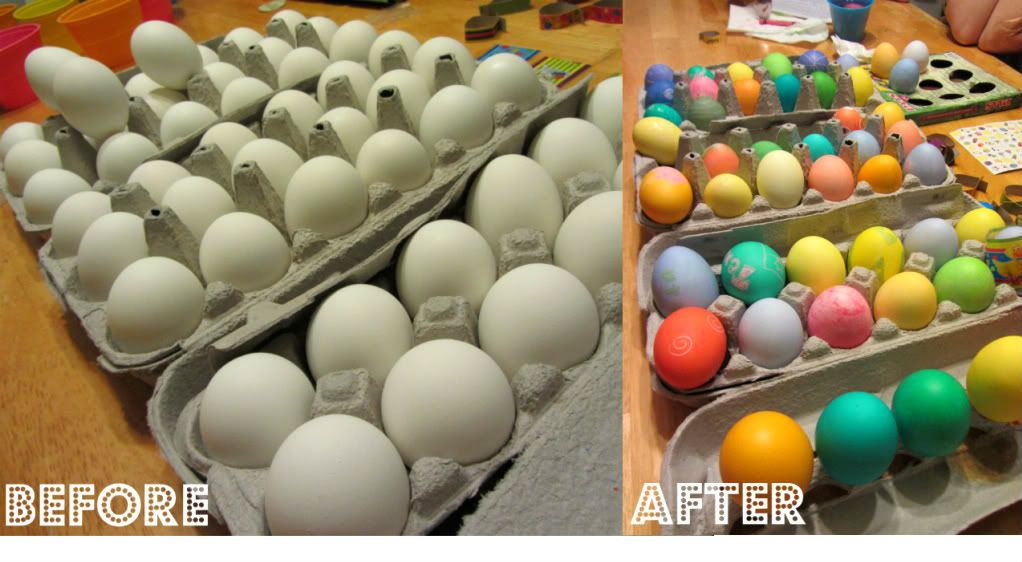
The good ole egg dye tradition.

Every Easter that we are able to visit in Utah, we get to help dye eggs.

It is a dye-hard (tehehe) tradition in the Keyes house.


And every time, without fail, everyine makes fun of me.

Every single time.


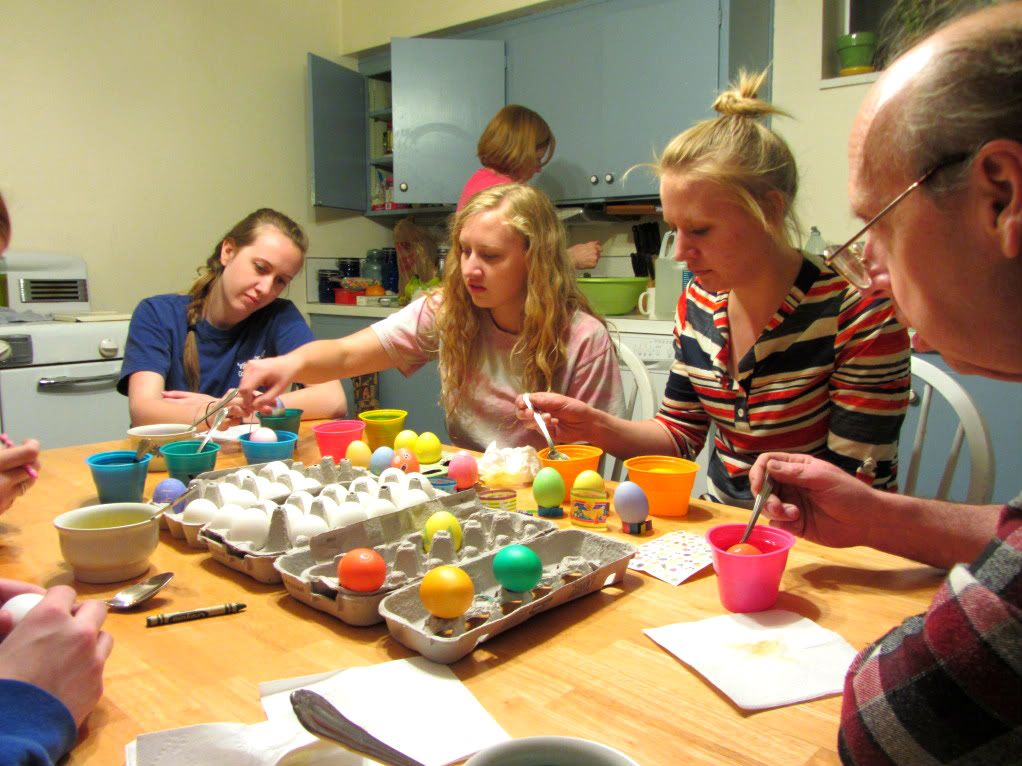
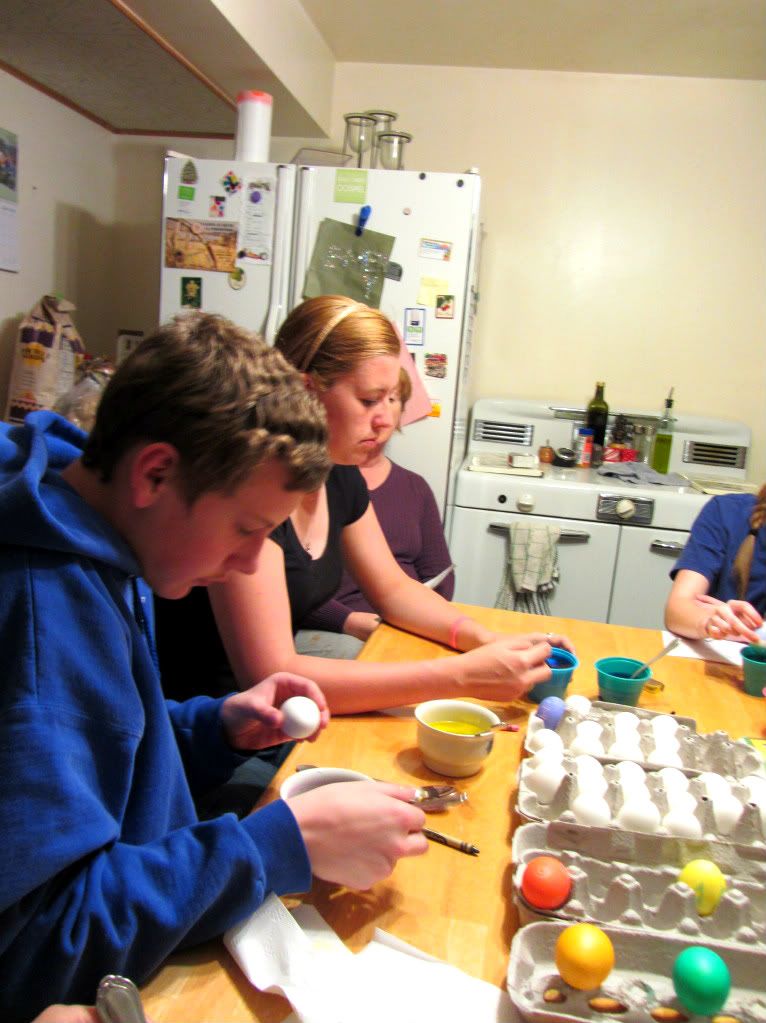
Danielle, Colette, Bridgette, Uncle Doug, Aunt Denise (back turned)

Why do I get mocked, you ask?


Bridgette's balancing act.

Well, when I was very little, maybe about a foot taller than the kitchen table, I didn't understand how to dye eggs.

We didn't dye eggs at home in Texas.  It just wasn't something we did.


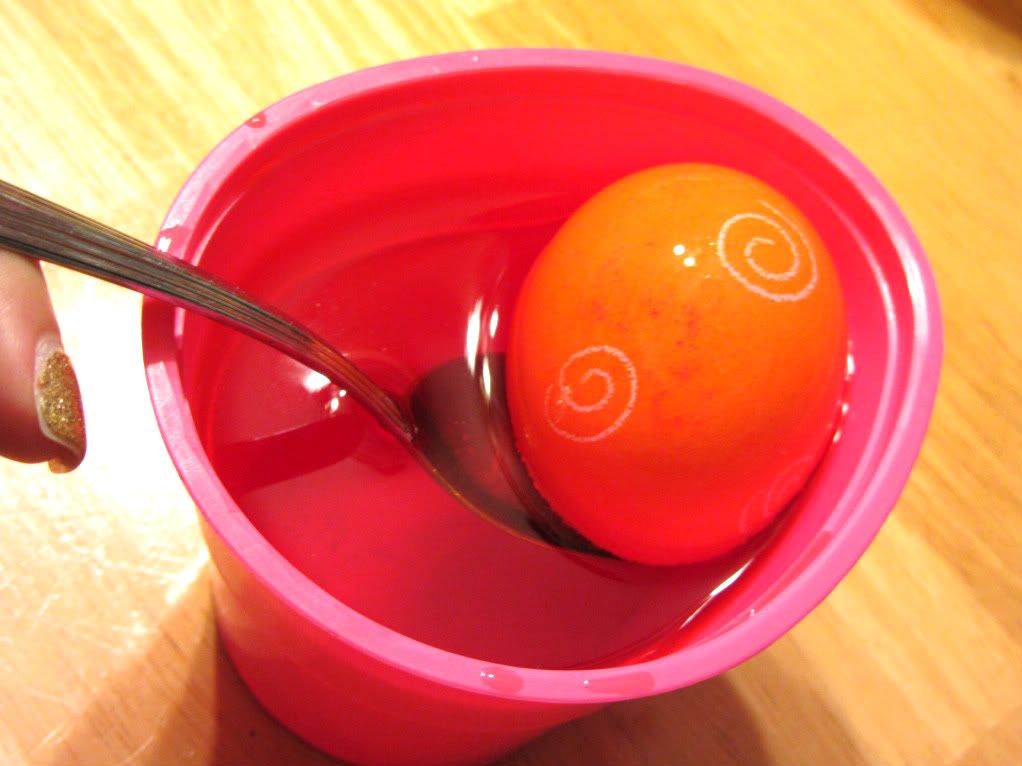
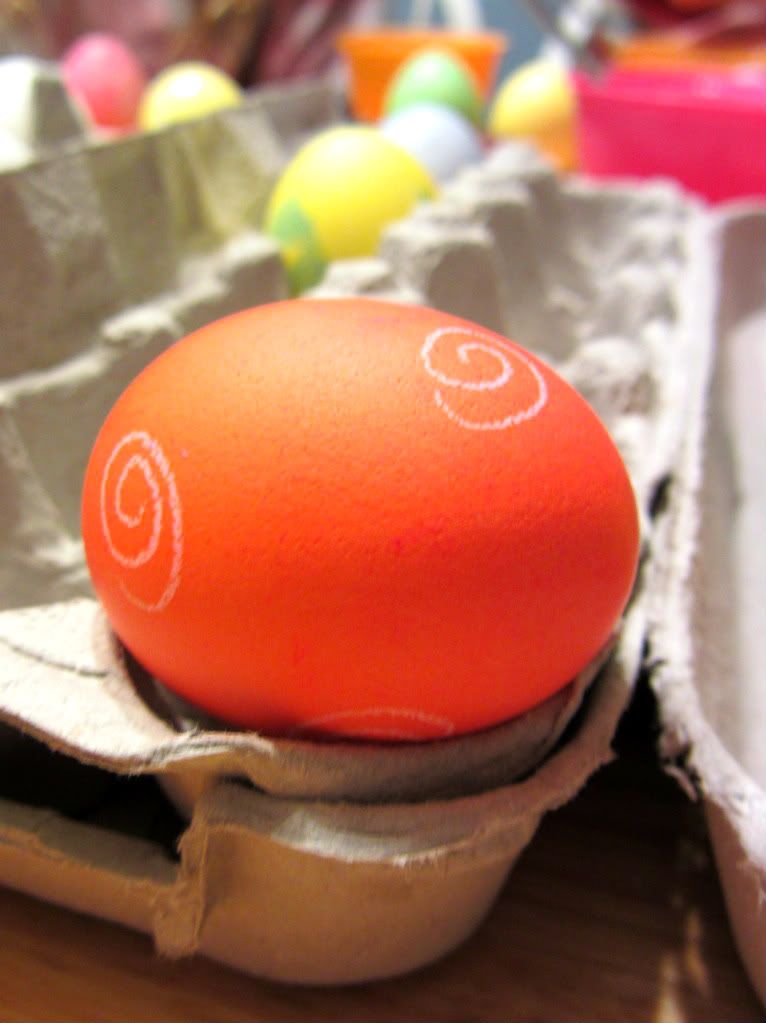
My egg.

So I didn't know what those little tablets on the kitchen table were.

All I knew is that they looked just like candy.


My favorite shot.

Despite the fact that these "candies" were not mine, I ate them anyways.

Then I found out, they were not candies at all.

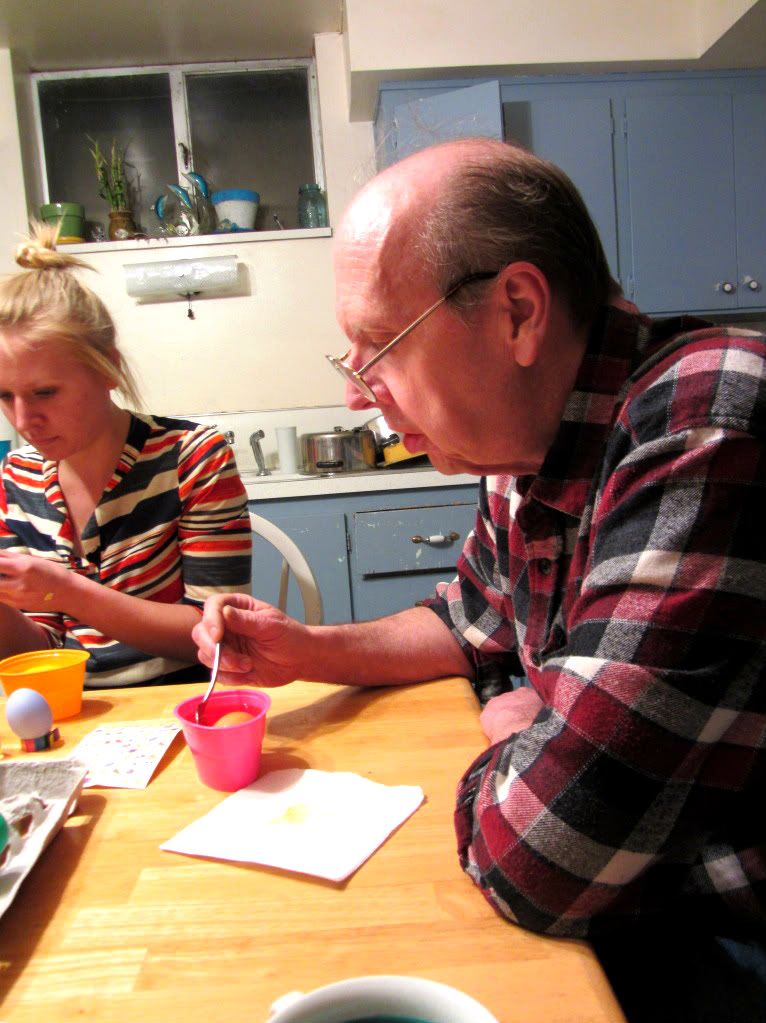
Uncle Doug, the artist.

The boogers were egg dye tablets.  Definitely not candy.


It wasn't pretty.

I was a freak show. 
Complete with:
 colored foaming at the mouth,
crying in confusion,
weird colors in my mouth, 
laughter surrounding me.


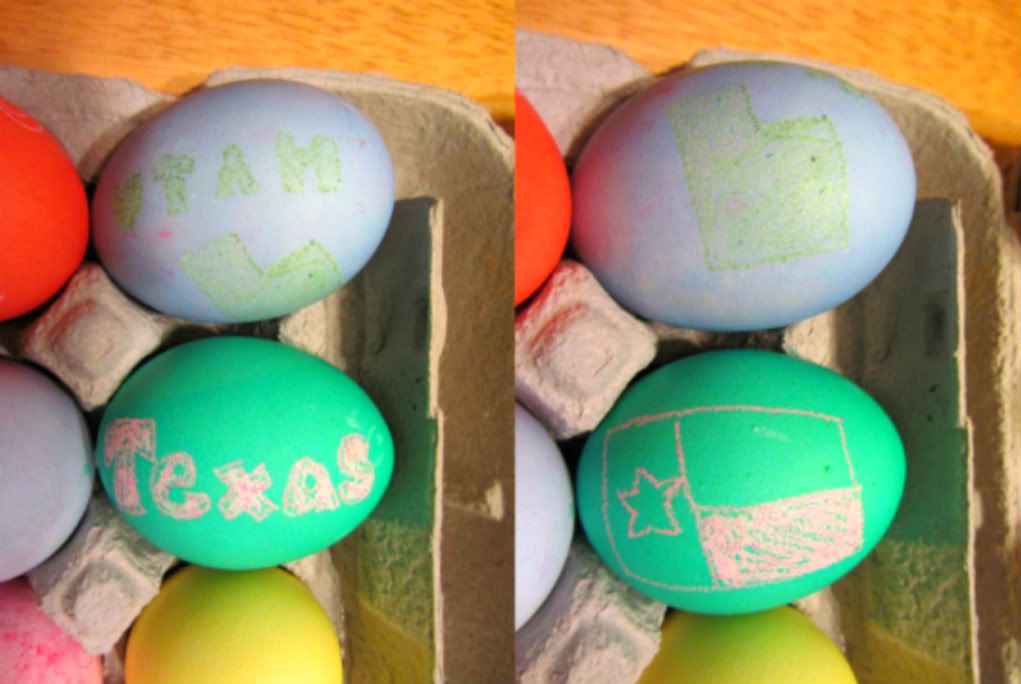
My Texas egg!

I just couldn't understand what was wrong with this candy.

Then finally, I was directed to spit it all out.


Andrew, December, Mom

So basically,ever since, my family makes fun of me for trying to eat the Easter egg dye.

Every year.

Without fail.

"Hey remember when Savannah tried to eat the Easter egg dye?"

Hahahaha.


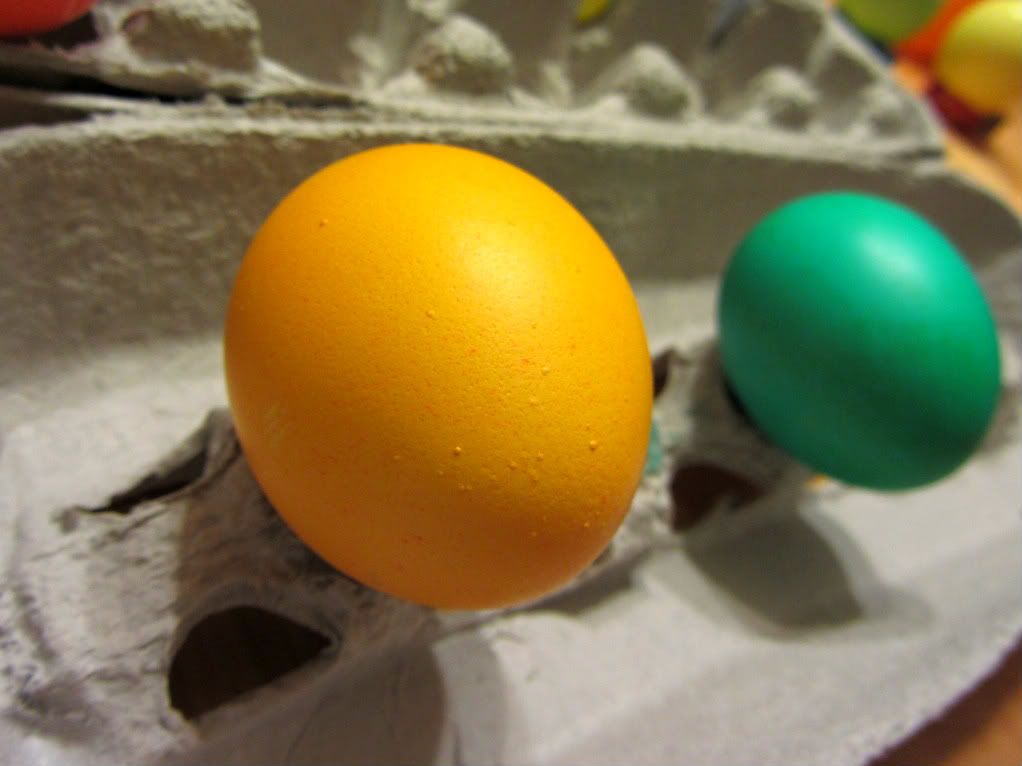
Andrew completed the set with a Utah egg.


Wednesday, February 22, 2012

Crafty Monograms on Canvas

Oh, goodness! Two weddings in December, one in February, two in March, and one in May!!!

Is it just me or is EVERYONE deciding to get hitched? haha

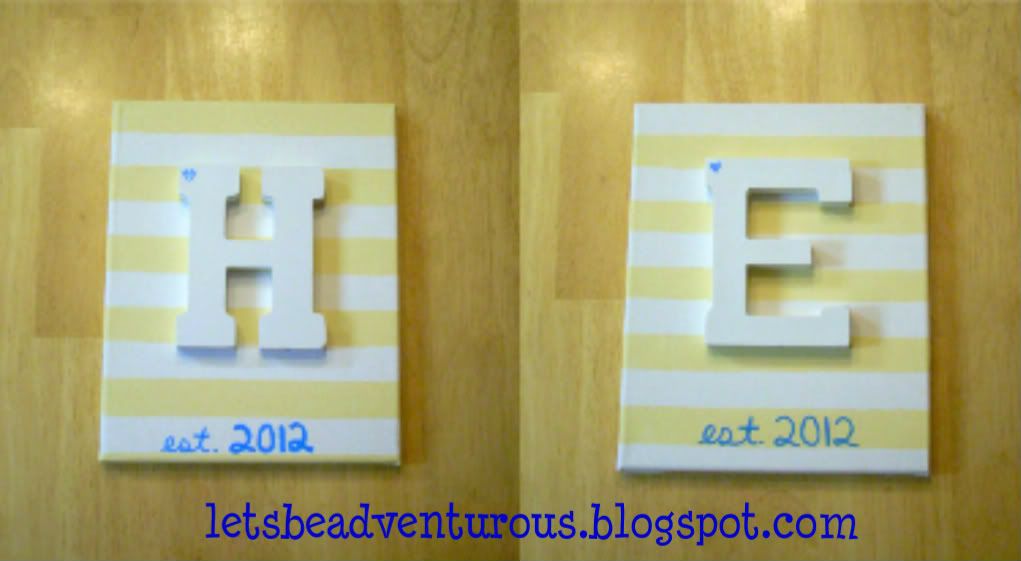
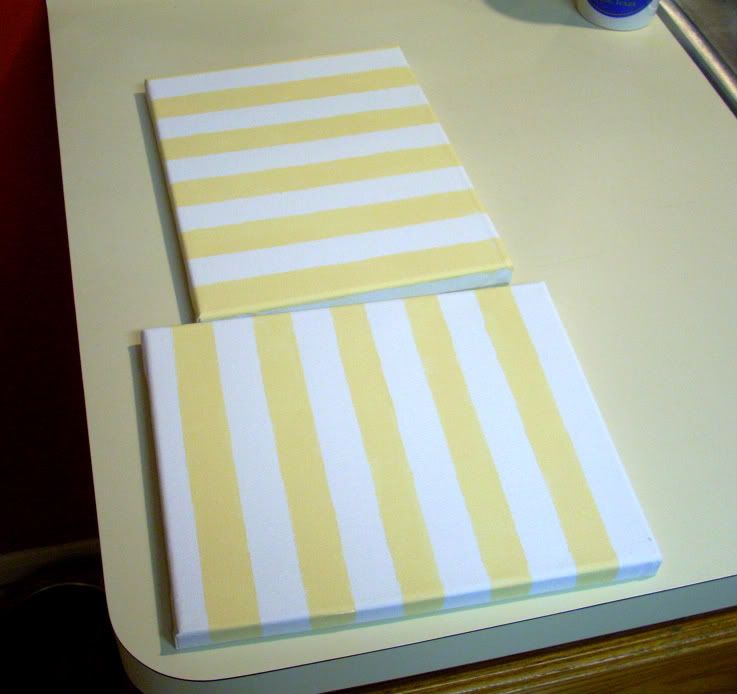
Anyways, here is a fun fabulous {cheap} wedding present...


___________________________________________________________________________________


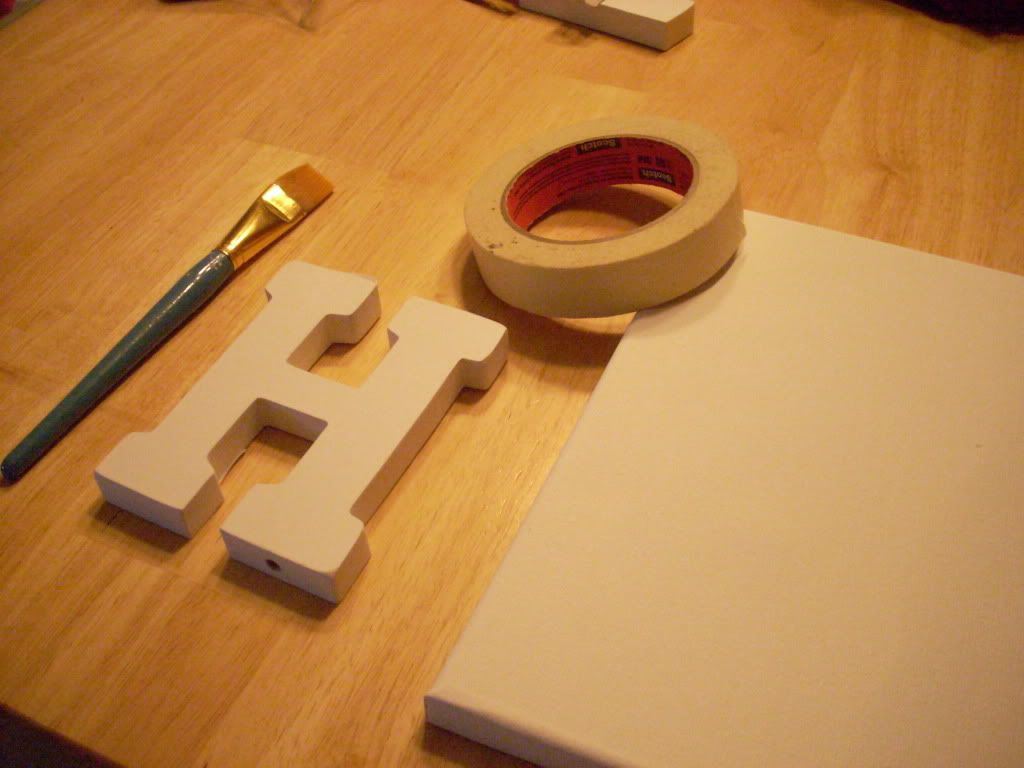
So whatcha need?
Mini canvas (I got mine in a pack from Michael's)
Masking tape
Letter Block
Paint
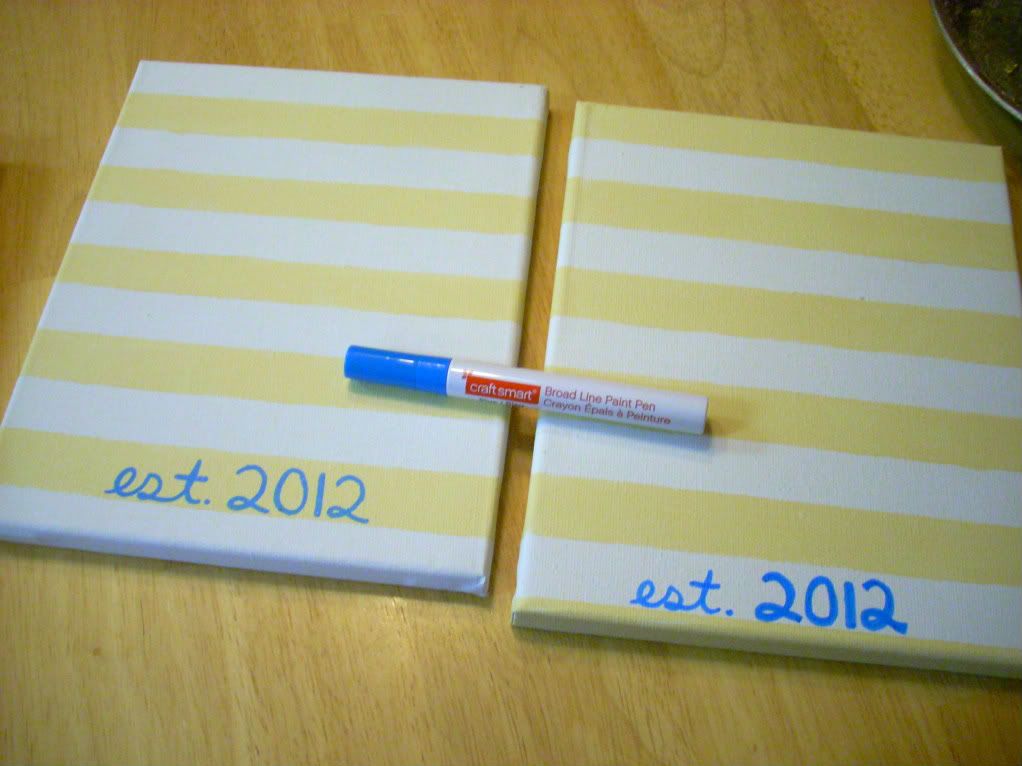
Paint pen (not pictured)
Paint Brush

Surface to paint on, I used a plastic bag
A Helper to help get the tape off


So whatcha gotta do is...

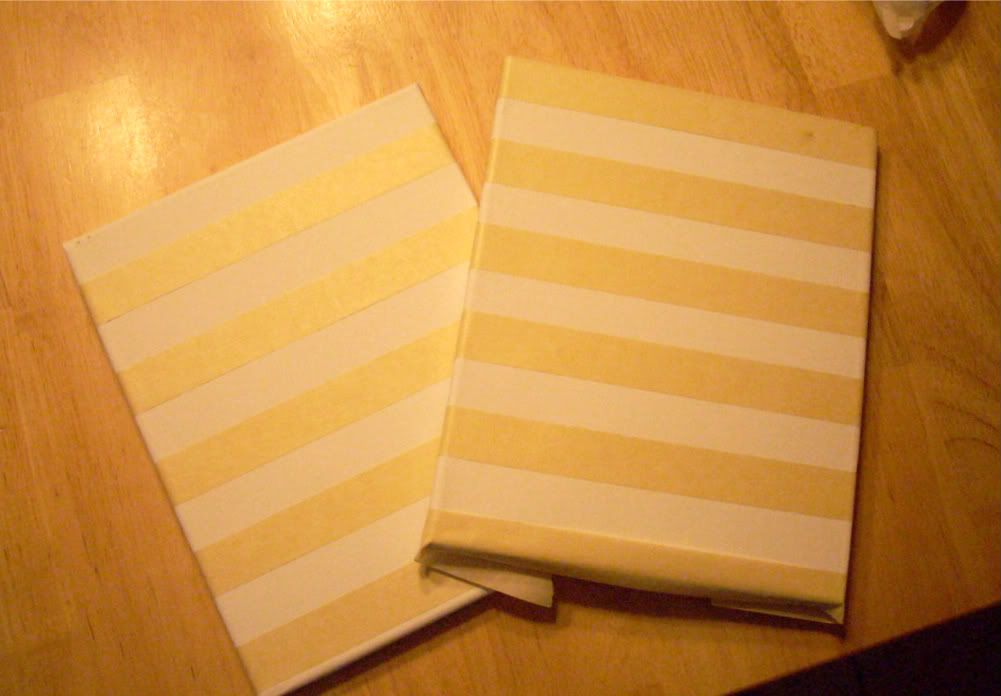
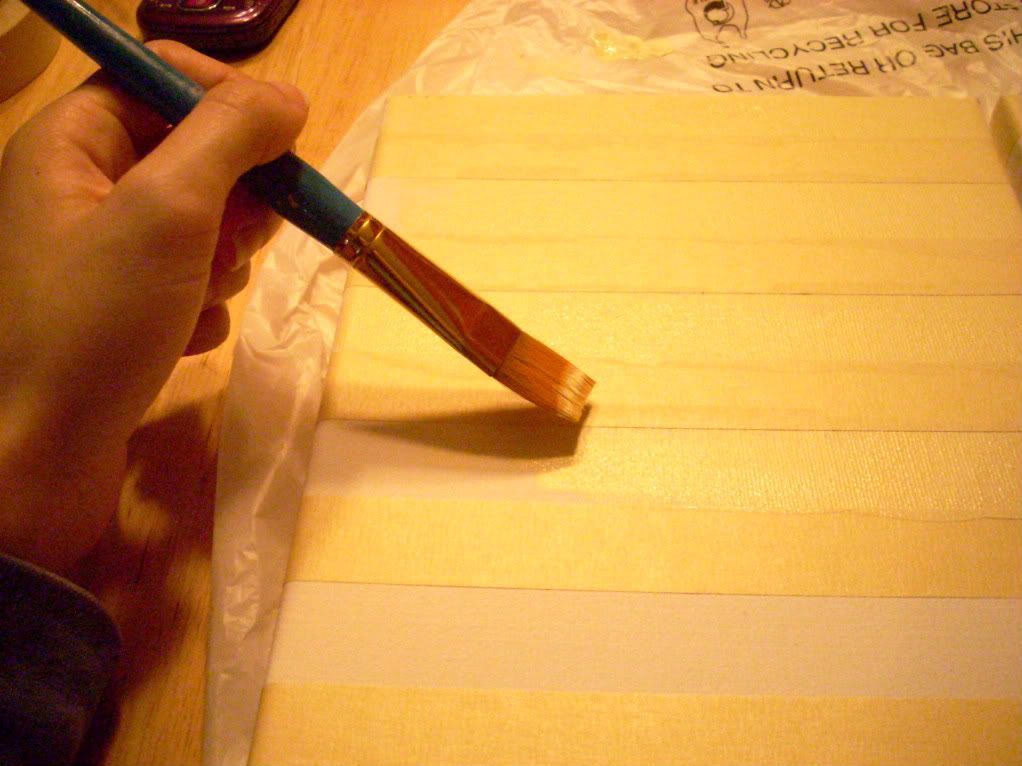
1.  Tape evenly spaced stripes on your canvas with the masking tape.  Fold it all the way around the sides, so it stays down.  I just eyeballed way the tape should go, but you could measure it out and mark them with a pencil or something.


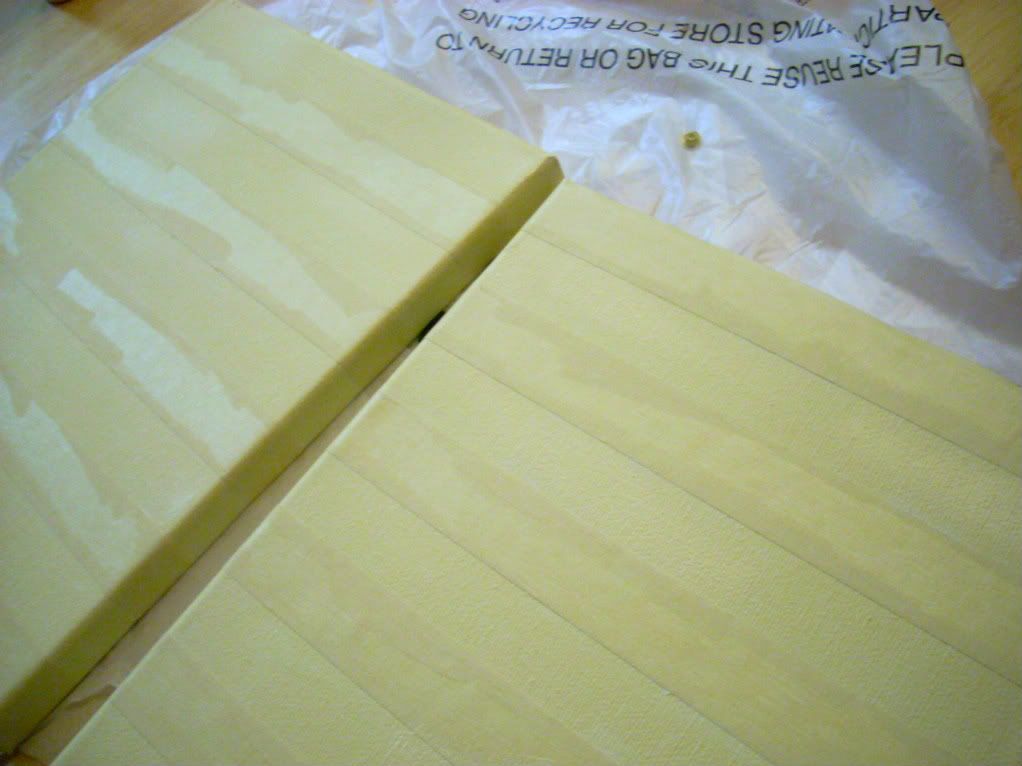
2.  Now paint the sucker!


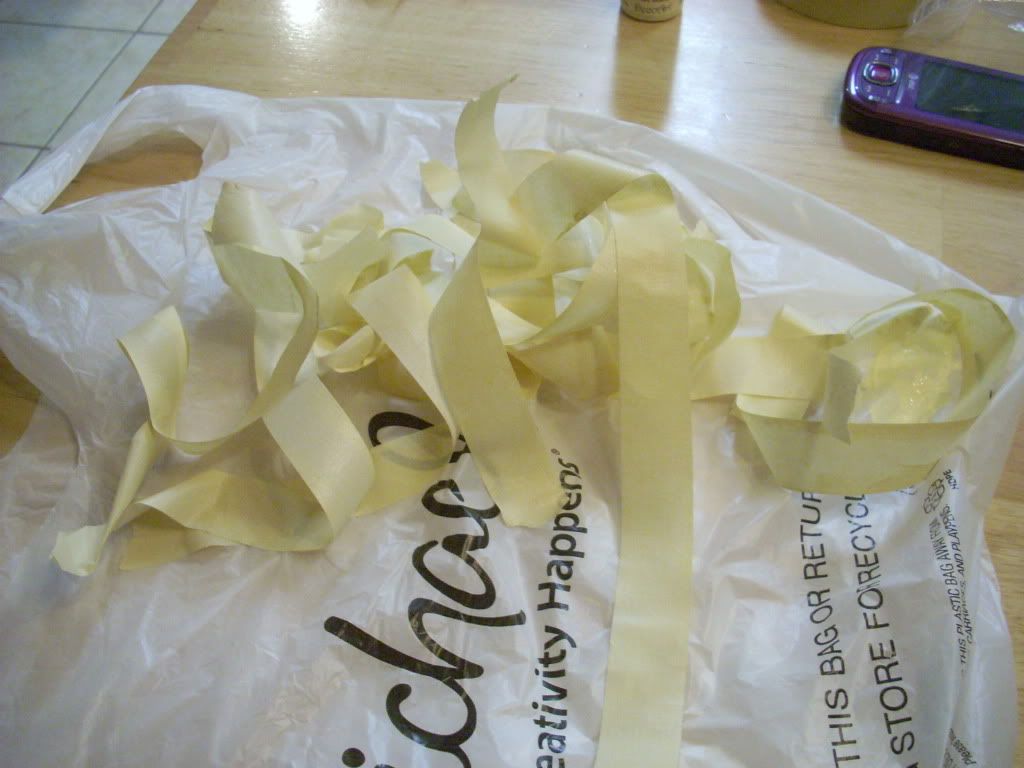
3.  Let them mostly dry and then peel off the tape.  You may want someone to help.
     And let them finish drying!


4. Then further personalize the gift...


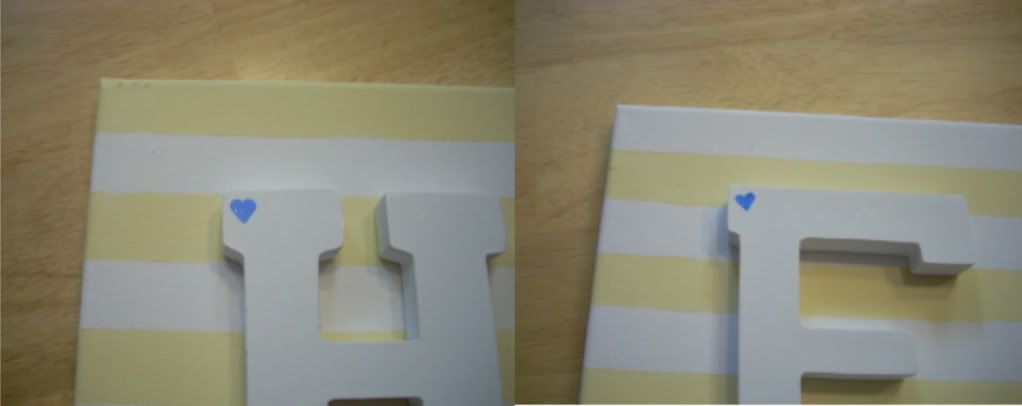
5. Hot the letter block onto the canvas.  I then added a little blue heart to put some more blue.


And voila!!


Friday, January 13, 2012

P52 Week #2: Made with Love

This week's photo challenge: Made with Love.

What a coincidence I sent off two packages this week!!  One to the birthday Elder and one to my pregger friend.  (Shout out to Stephanie!! Baby Jazlyn is adorable!!)

Brown paper packages tied up with strings,
These are a few of my favorite things...


Well, I think I won the blonde roots award.  There was supposed to be cookies included in the birthday box, but I forgot them! At home! Far away from school! Thank goodness for patient and kind-hearted and awesome mommies. :)

Anyhoo, Stephanie's baby box included: a hanging baby stuffs organizer, a do not disturb new mommy tiara, and wall art!! I embroidered a little somethin' somethin'...


All you need...
Embroidery Hoop
Thread
Buttons Galore
Fabric
Needle (duh!)

And it was made with love for little baby Jazlyn...


project 52 p52 my3boybarians.com
For more info...


Peace out!

Monday, October 17, 2011

Embroidery Hoop CLock

Hello!!
Today I will finally share my super cute button clock! Well, felt button clock.

All of my materials were bought at Michael's, the best craft store in the world.  If I do say so myself.  And I used coupons!!

Materials:
Embroidery Hoop
Cross-stitch Fabric (or other strong fabric)
Felt Buttons (or regular pieces of felt)
Clock Parts (can be bought separately or can be taken out of a clock)
Needle and Thread
Method of Hanging (I used thumbtacks)
:)


Instructions:
1. Attach fabric to embroidery hoop, trimming off the excess. 
2. Stitch numbers onto felt buttons. (note: be super careful. I don't know how many times I poked myself for sure, but I'd guesstimate about a million and a quarter.)
3. Cut a little slit in the middle of your clock just big enough for the clock parts to fit through.  (*insert super scary monster voice here*) Now comes the tricky part: the clock parts. I bought the separate clock parts... and they did not come with instructions in the package. Nada. Zilch. Which is exactly how much I knew about clocks parts.  It took me hours to figure out how to put them together so they would work.  So just exercise caution and know what you're doing.  I eventually figured them out. :)
4. And you put it all together!
5. To hang on my wall, I put a thumbtack under the top rim of the embroidery hoop and another under the clock handle.  The gives my new baby support. :)

Enjoy! 

My Felt and Embroidery Hoop Clock. :)

The inspiration for this project came from here.


P.S. Today is my last day as a teenager! *gasp*

Sunday, October 9, 2011

Latch Hook T-Shirt Rug


I found this awesome tutorial through craftgawker.com. The Gawkerverse is a magical place where blog posts are stored for people to search and marvel at.  It is my obsession. I'm not ashamed. Okay, maybe just a little, haha. Anyhoo, it is a magical place where one can look at either crafts, weddings, food, or in/exterior design.  Like I said, magical. 

So one day, I found said awesome tutorial and was {insert snobby educated British accent here} totally inspired.  I have exactly a gazillion two million ninety-nine thousand five hundred twenty three t-shirts from various activities in school and else where that I did not wear anymore.  I saw this crafty activity as a way to use this poor, sad t-shirts and make something I can use now.

Behold my little marvelous work and wonder...

My Prayer Rug!!!


If you would like to embark on this tedious and time consuming but entirely worth it project...

    Items You Will Need

  • A ginormous pile of t-shirts
  • Sturdy, reliable fabric scissors
  • Small piece of paper
  • A nice and good latch hook
  • Latch hook canvas/backing stuff (can you tell I'm no expert?)
  • Elastic binding stuff (should be in same area in craft store)
  • Needle and thread
  • Optional: fabric dye
  • Optional: gloves or some other way to combat blisters

Rough Directions:

1. Make yourself a little template of how small you want your little strips. I suggest 4in. x 1in., maybe even a little skinnier. Then gather all of your t-shirts and snip away!  Trust me, this takes hours... and a few more hours.  But you must prevail, for the reward is oh so sweet! :)  Feel free to wear some sort of gloves or other form of anti-blister-ant. I won't call you a wimp at all.  Just don't steal your sister's brand spankin' new softball batting gloves for this stage of rug-tastic development.  She will get super angry.  Oops...

2.  Next, you must make your decision considering your colors.  I, personally, used RitDye to dye all of my white strips grey.  (It doesn't make to me to have a white rug for walking on.) Then, wash and dry all of your strips to get rid of all those little fuzzies.  Trust me, you will find a lot in the lint catcher.

Words of Caution: you may need to wash the strips in a sort of lingerie bag so they don't clog your washer/dryer.  I didn't have this problem but some people did. 

Then you will have some nice piles...


I separated them by color to get an idea of how I wanted design my rug.


After much debate and inner turmoil, I decided to go with stripes.

3. Now to the latch-hooking!! If you don't know how, follow the instructions through the tutorial link from the top of this post.  But before you latch hook anything, you need to hand sew the binding around the edge.  This keeps the material/grid stuff from coming apart.  Sandwich the edges between folded elastic and sew!  I promise you will not regret this step.

So, it should kind of look like this around the edges...


Now how should you space your strips? However you want! It depends on how thick/thin your strips are.

This is how I spaced mine... every other horizontally and skip up three vertically... if that makes any sense...


I used the blue grid on the canvas stuff to size my stripes: 2 blocks wide and 1.5 blocks for the outside stripes.


Tadaa!!!  A lovely addition to my room.  My new prayer rug! :)